As we grew, we realized that the quality of our products was critical, so we created a quality inspection team to follow the production of all our goods, and we present our customers with the processes and aspects of production so that you can trace the entire production process.
Let us present to you a detailed picture of our quality control process.
Table of Contents
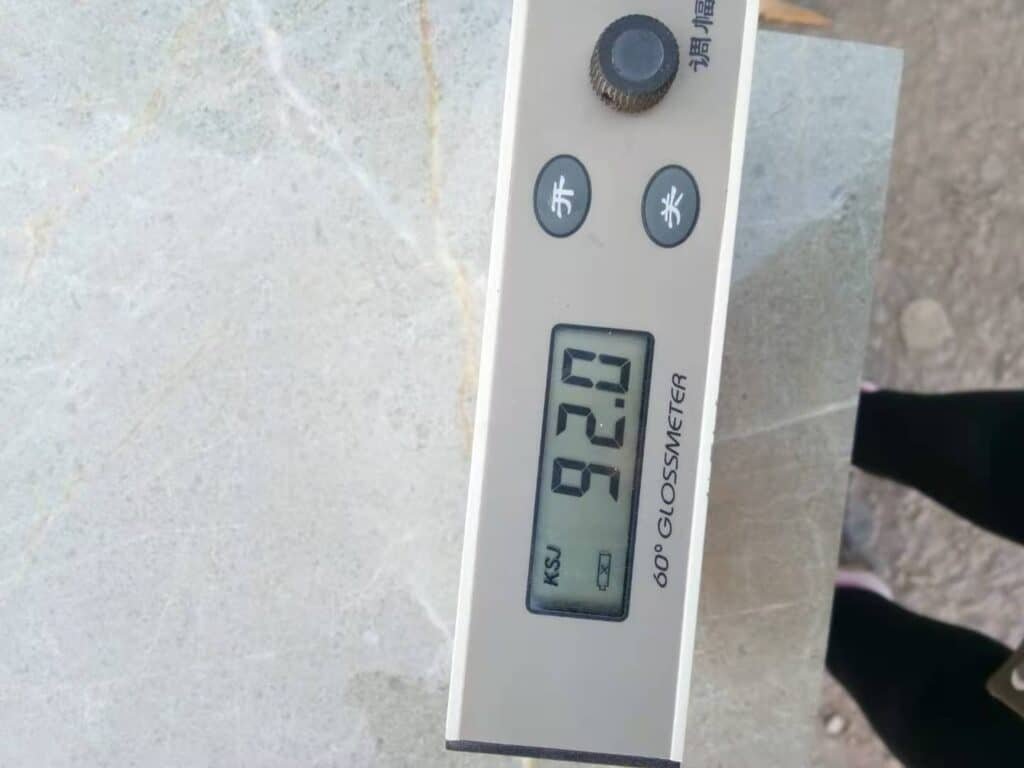
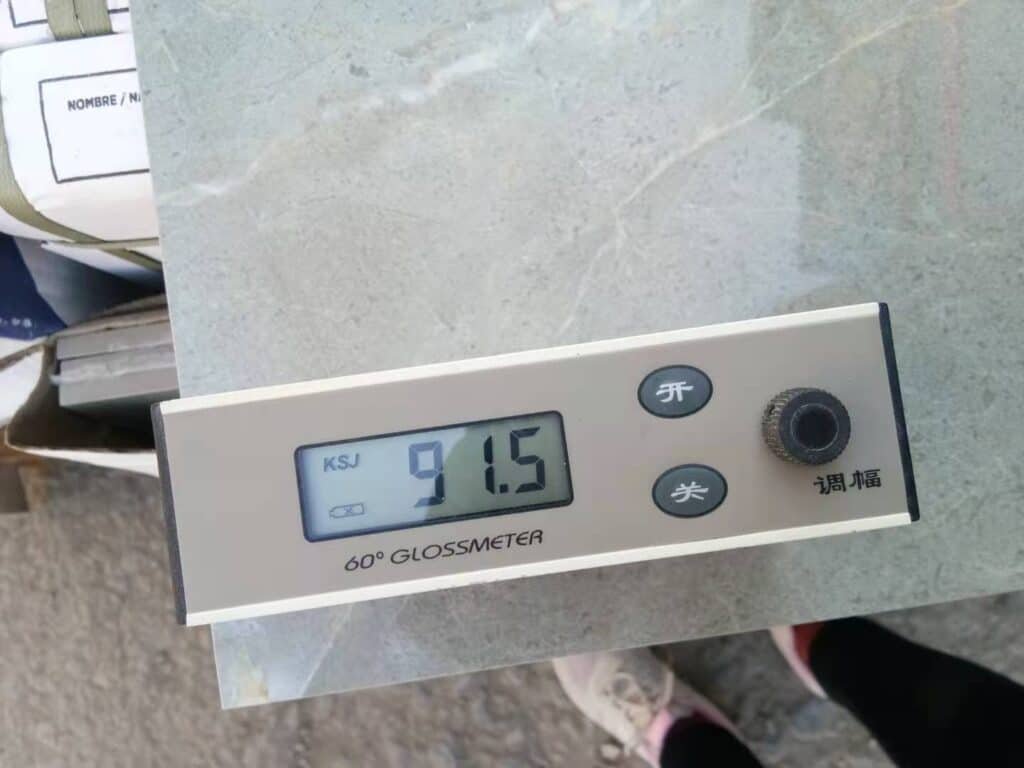
Test glossy grade
Amplitude: press the switch to take off the dust cover, the measurement port placed on the black working board, adjust the AMP (amplitude) button, so that the display value is equal to the black working board calibration value.
Measurement: the measurement port is placed on the part to be measured, the instrument display value is the gloss of the part, if the measurement of a longer period of time, the amplitude of the instrument should be recalibrated. Measurement of the allowable deviation of ± 1 degree.
Calibration: adjust the instrument according to the amplitude steps, and then place the measurement port on the white working board, the difference between the displayed value and the white working board calibration value should be no more than 1 gloss unit. If deviation occurs, it means that the gloss value of the black working board has changed and must be re-calibrated.
Test Flatness
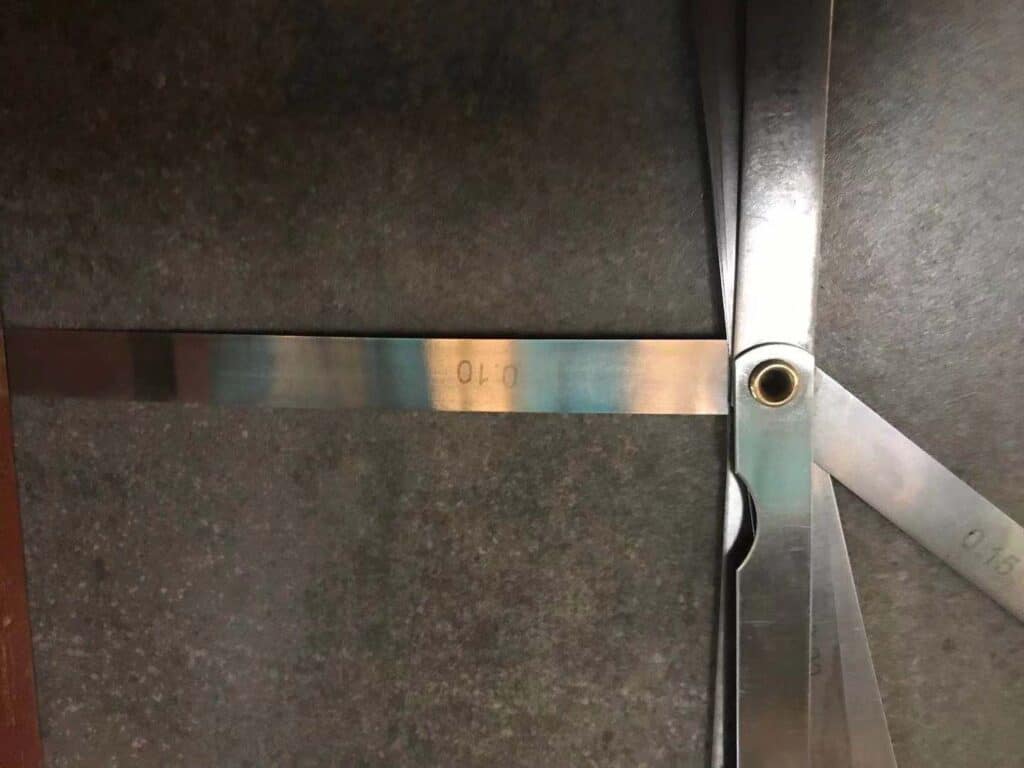
Place the tile face up on the test bench or other flat surface (keep level), use the ruler to stand sideways on the diagonal of the billet, then use the stopper to measure the vertical distance between the ruler and the billet, it is the concave or convex deformation of the billet, write down the reading.
Use the stopper to measure the distance between the four corners of the tile and the gap between the ruler and the tile, then the warpage degree, respectively, write down the readings of the four corners.

Test Edge Length
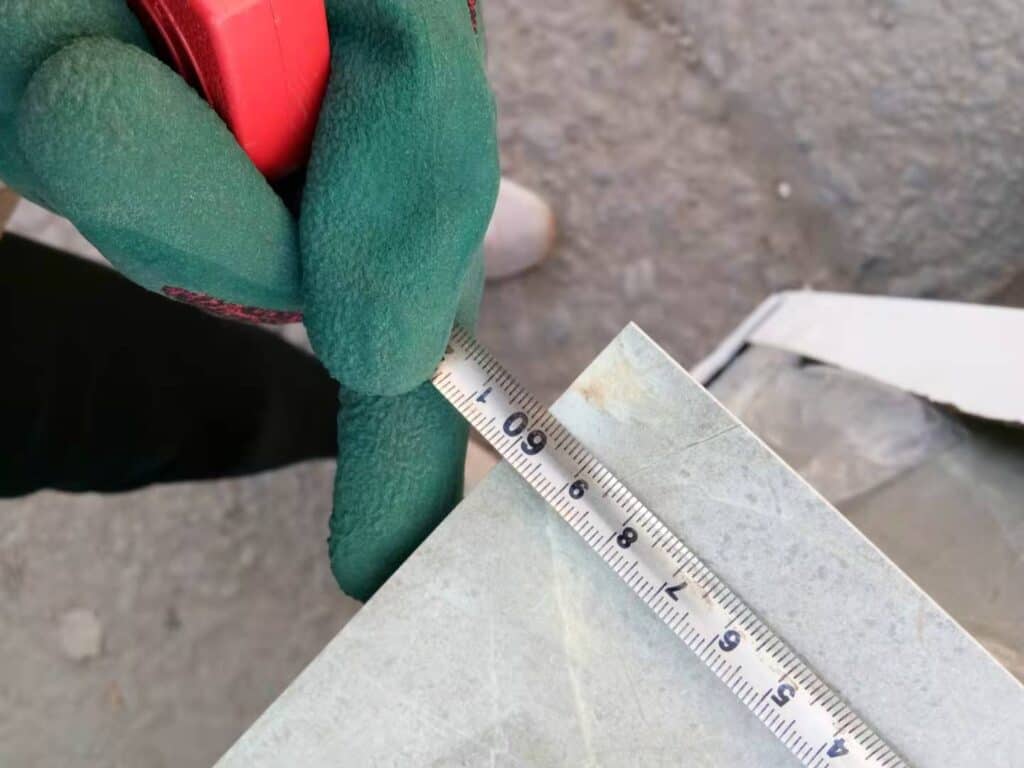
Place the product out of the kiln or after grinding the edges flat on the sponge on the test bench, measure the four sides of the brick with a tape measure and write down the readings respectively.
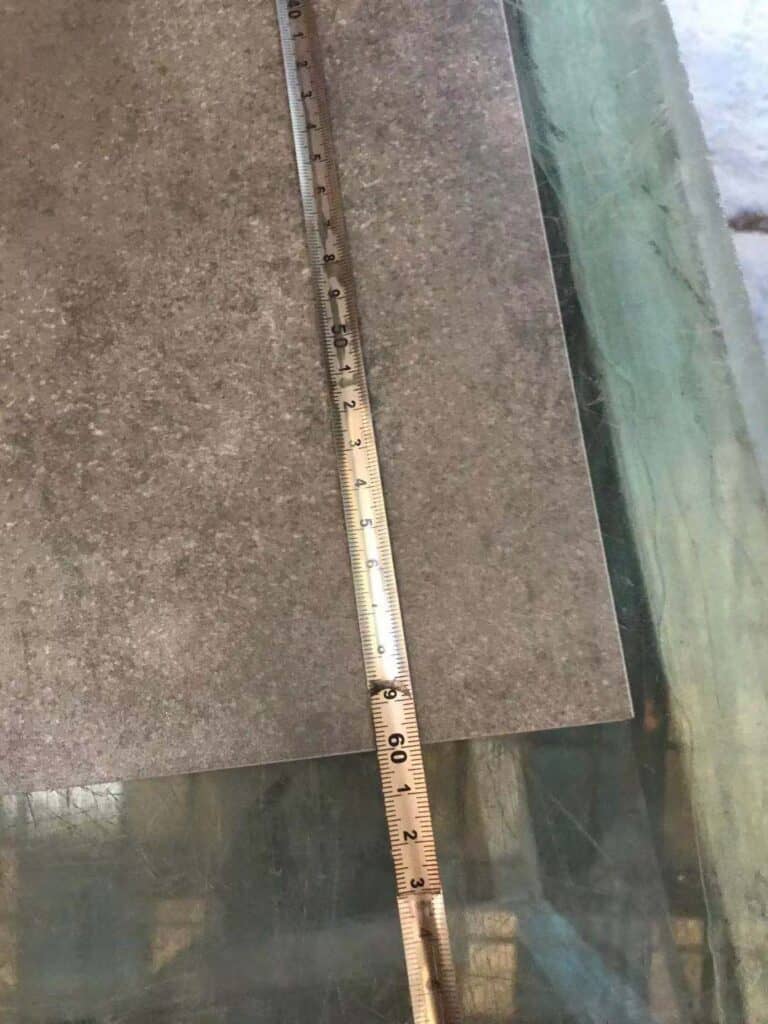
Test Diagonal
Use a tape measure or straightedge to measure the size of the two diagonals of a tile, the difference between the two is its diagonal size deviation.
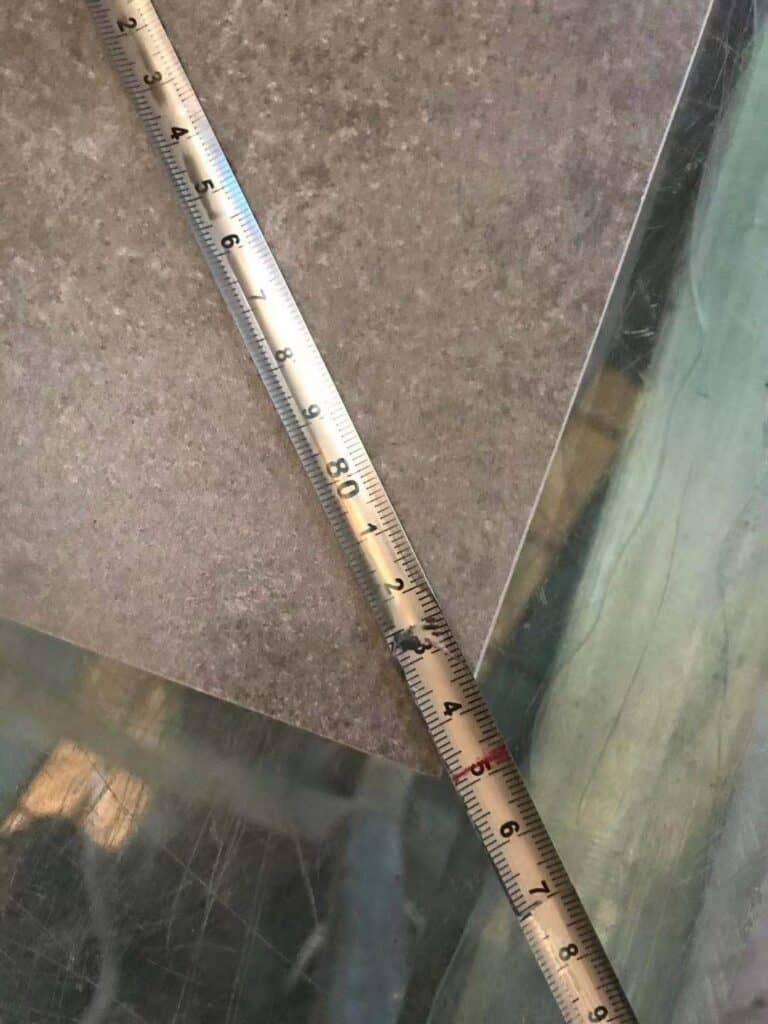
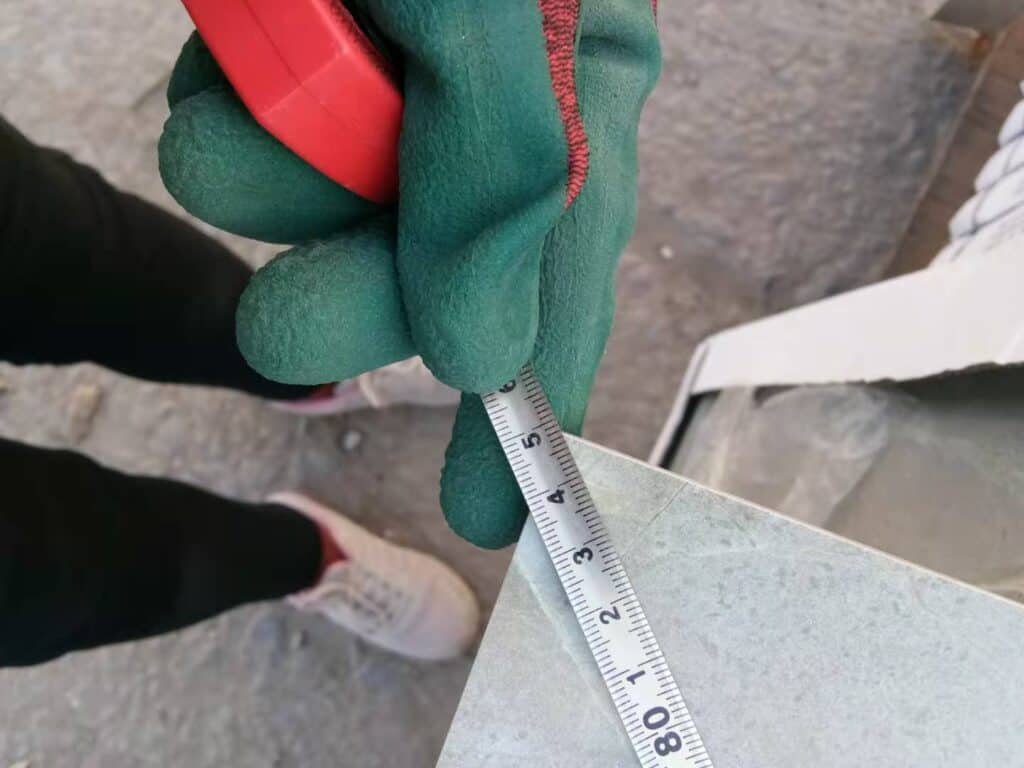
We show here just one part of our work, we pay a lot of attention to the control of the quality of our products. If you have any ideas or suggestions, please feel free to contact us, we would love to hear from you.
